Step 1. Download and install PDF Converter for Mac, and then run the PDF Converter for Mac. You can add them from the File menu or directly drag files into the panel. By the way, you can remove the file by dragging it out of the panel.
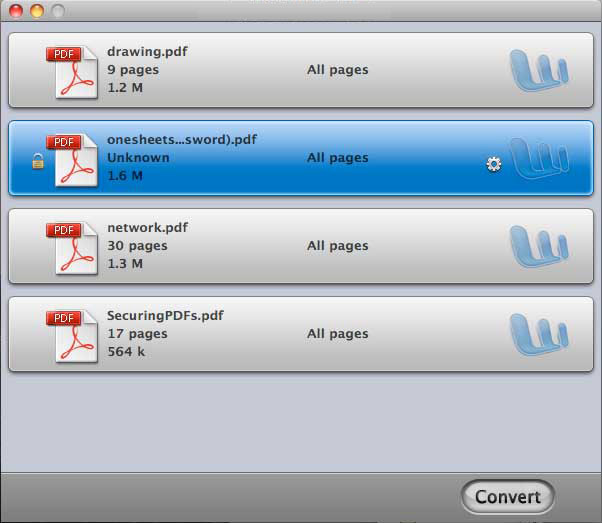
Step 2. Customize Output Settings: You can set the files in the panel individually. Choose a file and click setting icon and you can customize the Page Range and Format.

The default option of Page Range is All pages; you can also choose Customize and type on the page number that need to convert.
There are two options of output format. You can choose MS Office Word (.doc) or Rich Text Format (.rtf) as your need. If you choose the option Apply to all, the format of current document setting will apply to all the files in the panel.
If the file is encrypted with user password, without which you cannot open the file, there will be a “Locked” icon for notification. Click the icon and there is dialogue ask you to type on the open password. If done, the icon will disappear and the application can convert it as normal ones. If not, the application will skip it in the conversion process.

There is another type of encrypted PDF called owner password protected PDF, which you can view but not copy and print. The application will treat them as normal PDF files for conversion. Of course, you need have legal rights.
Step 3. Set Destination Folder: You can set output folder by choosing File-output settings-output folder. There are two options to select. You can save the output file in the same folder as source or click Browse to customize the destination folder.
Step 4. Convert PDF Files: Click Convert and all the files will be converted in seconds. There is a processing bar in the process of conversion. And after conversion, there will a notification to show you the conversion result. It will be found that all the original text, layouts, hyperlinks and graphics would be preserved in an editable Word document.


